


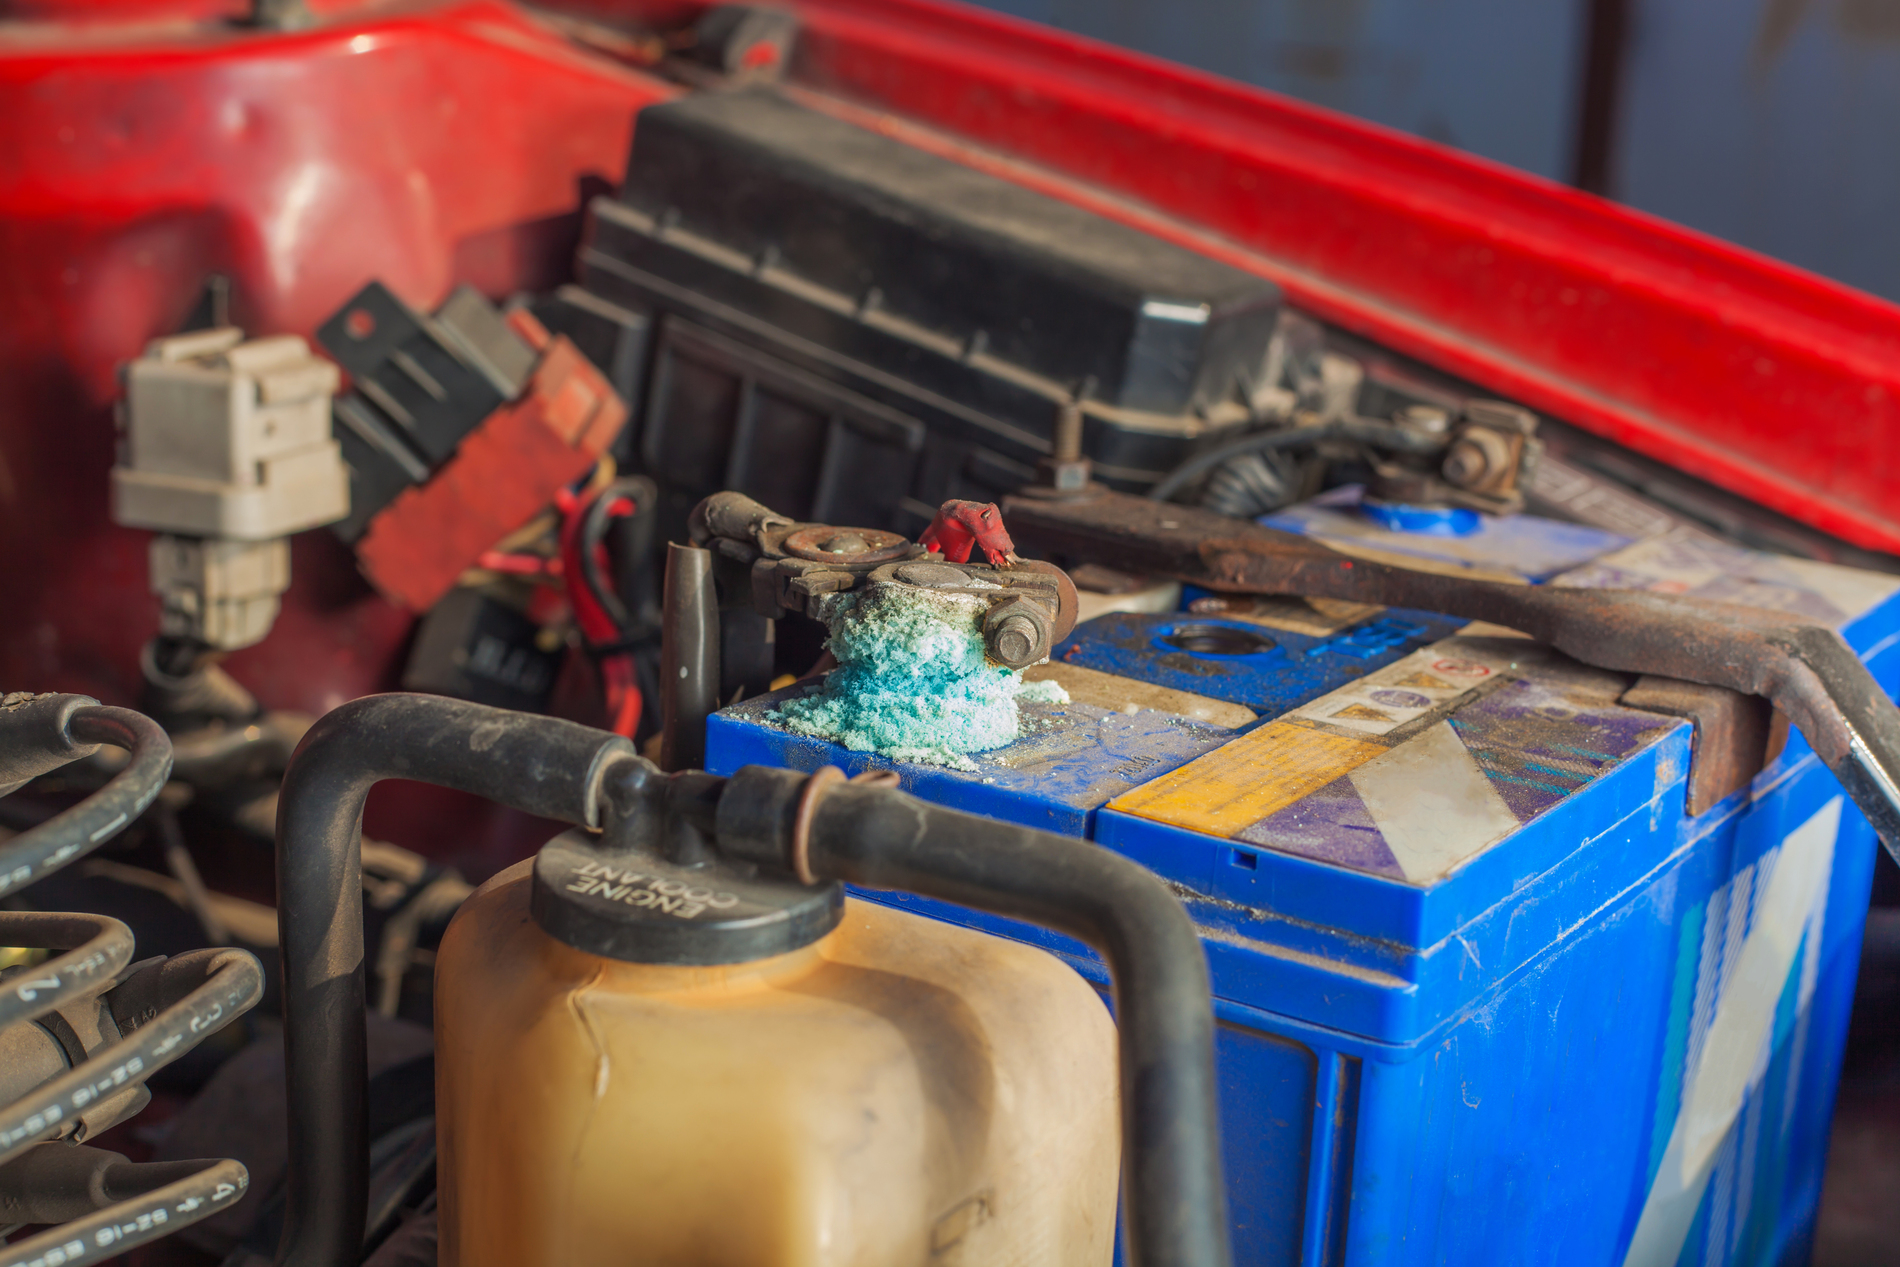
A corroded battery terminal can leave you stranded in your own driveway.
Corrosion shows up as a white, blue, or green powdery buildup on the battery terminals and cable clamps. It forms when hydrogen gas or small amounts of acid escape from the battery and react with the metal. It can cause a slow-cranking engine, dim headlights, or a clicking sound when you turn on the ignition. The fix takes less than 30 minutes with tools you likely already own. You should do it once every six months on a weekend.
Tools You Need
- Safety glasses and gloves
- A wrench, usually 10mm
- A wire brush or an old toothbrush
- Baking soda and water
- A small cup and clean rags
- Dielectric grease or a terminal protector spray
Step 1: Inspect the Battery
Turn off the engine and open the hood. Look at the battery case for cracks, bulges, or wet spots before you start. If you see any of these, have a professional check the battery instead of cleaning it yourself.
Step 2: Disconnect the Cables
Loosen the negative cable first. It is marked with a minus (-) sign and colored black. Move it away from the terminal so it cannot touch metal. Then loosen and remove the positive cable, marked with a plus (+) sign and colored red.
Tip: Disconnecting the negative cable first lowers the risk of a short circuit, since the negative cable connects to the car’s metal frame.
Step 3: Mix the Cleaning Solution
Stir one tablespoon of baking soda into one cup of water. Baking soda is Alkaline, so it neutralizes the acidic corrosion on contact.
Step 4: Scrub the Terminals
Dip the brush into the solution and scrub the posts, terminals, and the inside of the cable clamps. Small bubbles are totally fine as the baking soda breaks down the buildup. Keep the mixture away from the vent caps on top of the battery.
Step 5: Rinse and Dry Completely
Wipe the terminals with a clean, damp rag to remove any leftover residue. Dry every surface with a separate rag. Any moisture left behind can bring the corrosion right back.
Step 6: Reconnect in the Right Order
Attach the positive cable first, then the negative cable. This is the reverse of how you disconnected them. Tighten each clamp until it is snug. Avoid overtightening, since too much force can crack the terminal or damage the post.
Step 7: Add a Layer of Protection
Brush a thin coat of dielectric grease over each connection once both cables are attached. The grease blocks moisture and acid vapor from reaching the metal.
Keep the Corrosion From Coming Back
Check your terminals every six months, or sooner if you drive in humid or salty conditions. A quick look under the hood now saves you a dead battery and a bigger repair bill later.