

A bird bath is one of the easiest ways to make a backyard, patio, or garden feel more inviting.
Birds need access to fresh water for drinking and bathing, and you do not need to buy an expensive stone or concrete fixture to give them one. With a terracotta flower pot, a matching saucer, and a few basic supplies, you can build a simple bird bath in a single weekend.
This project is inexpensive, beginner-friendly, and easy to customize with paint or decorative details.
What You’ll Need
For this project, gather a large terracotta flower pot, a wide terracotta saucer, exterior-grade adhesive, outdoor paint if you want to decorate the bird bath, a paintbrush, clear outdoor sealer, sandpaper, and a few small stones or pebbles.
Choose a saucer wide enough for birds to land on but shallow enough to keep water from splashing out. Birds generally prefer shallow water, so a deep container is unnecessary.
Step 1: Clean the Terracotta
Start by wiping down the flower pot and saucer to remove dust, dirt, and loose material. If you are reusing older terracotta pieces, scrub them with warm water and allow them to dry completely.
Lightly sand rough spots or sharp edges. This is especially useful around the rim of the saucer, where birds may perch.
Make sure both pieces are completely dry before painting or assembling.
Step 2: Paint or Decorate the Pieces
This step is optional, but it is an easy way to make the bird bath match your garden.
You can paint the flower pot in a solid color, add simple geometric patterns, create stripes, or leave the natural terracotta finish visible. For a more rustic look, use muted outdoor colors and let some of the original clay show through.
Avoid heavily painting the inside surface of the saucer unless the paint is specifically rated for outdoor water exposure.
Once the paint has dried, apply a clear exterior sealer to the painted areas. Let everything cure according to the product instructions before assembly.
Step 3: Build the Pedestal
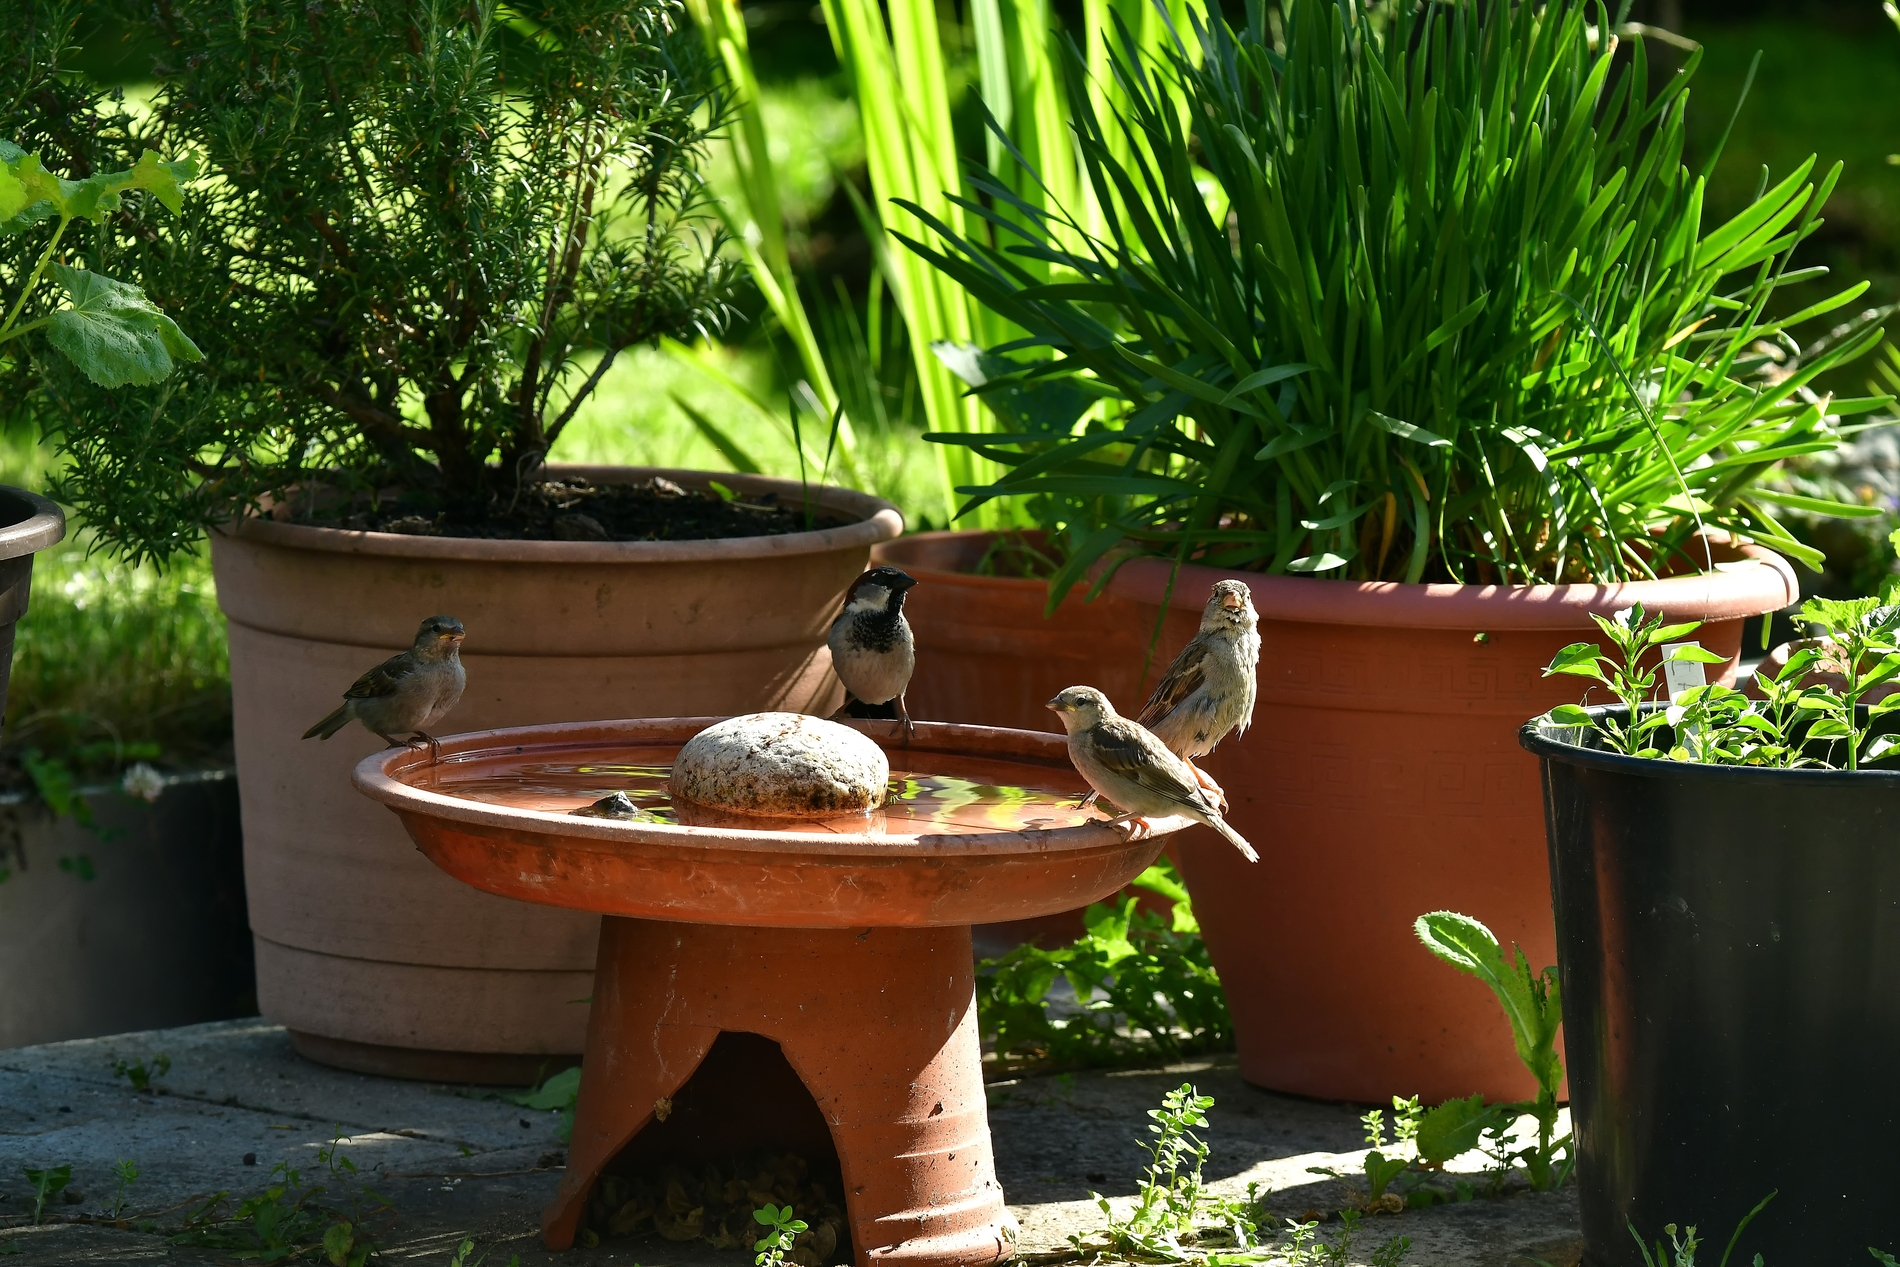
Turn the flower pot upside down. The wide opening should rest on the ground, and the narrower base should become the pedestal top.
Apply exterior-grade adhesive to the flat surface at the top of the overturned pot. Center the terracotta saucer on top and press it firmly into place.
Check the saucer from several angles to make sure it is level. A crooked basin can cause water to collect on one side or spill easily.
Allow the adhesive to cure completely before moving the bird bath.
Step 4: Add Stones and Water
Place the finished bird bath on a stable, level surface in your yard or garden. A spot near shrubs or plants can help birds feel more comfortable, but avoid placing it directly beneath areas where predators could easily hide.
Add a few smooth stones to the saucer. These provide additional landing and standing surfaces, particularly for smaller birds.
Fill the saucer with fresh water. Keep the water relatively shallow rather than filling it to the rim.
Step 5: Keep It Clean
A bird bath requires a little regular maintenance. Replace the water often, especially in warm weather, and rinse the saucer whenever dirt, leaves, or debris build up.
Periodically give it a more thorough cleaning with a brush and clean water. Avoid leaving stagnant water sitting for long periods.
During freezing weather, empty the terracotta bird bath and move it somewhere protected if possible. Terracotta can absorb moisture, and repeated freezing and thawing may cause cracking.
A Simple Backyard Upgrade
This DIY terracotta saucer bird bath is a small project that can make a noticeable difference in a garden. It requires few materials, doesn’t require advanced tools, and can be completed over a weekend.
Once finished, all that is left is to keep the basin filled with clean water and watch which backyard visitors discover it first.