


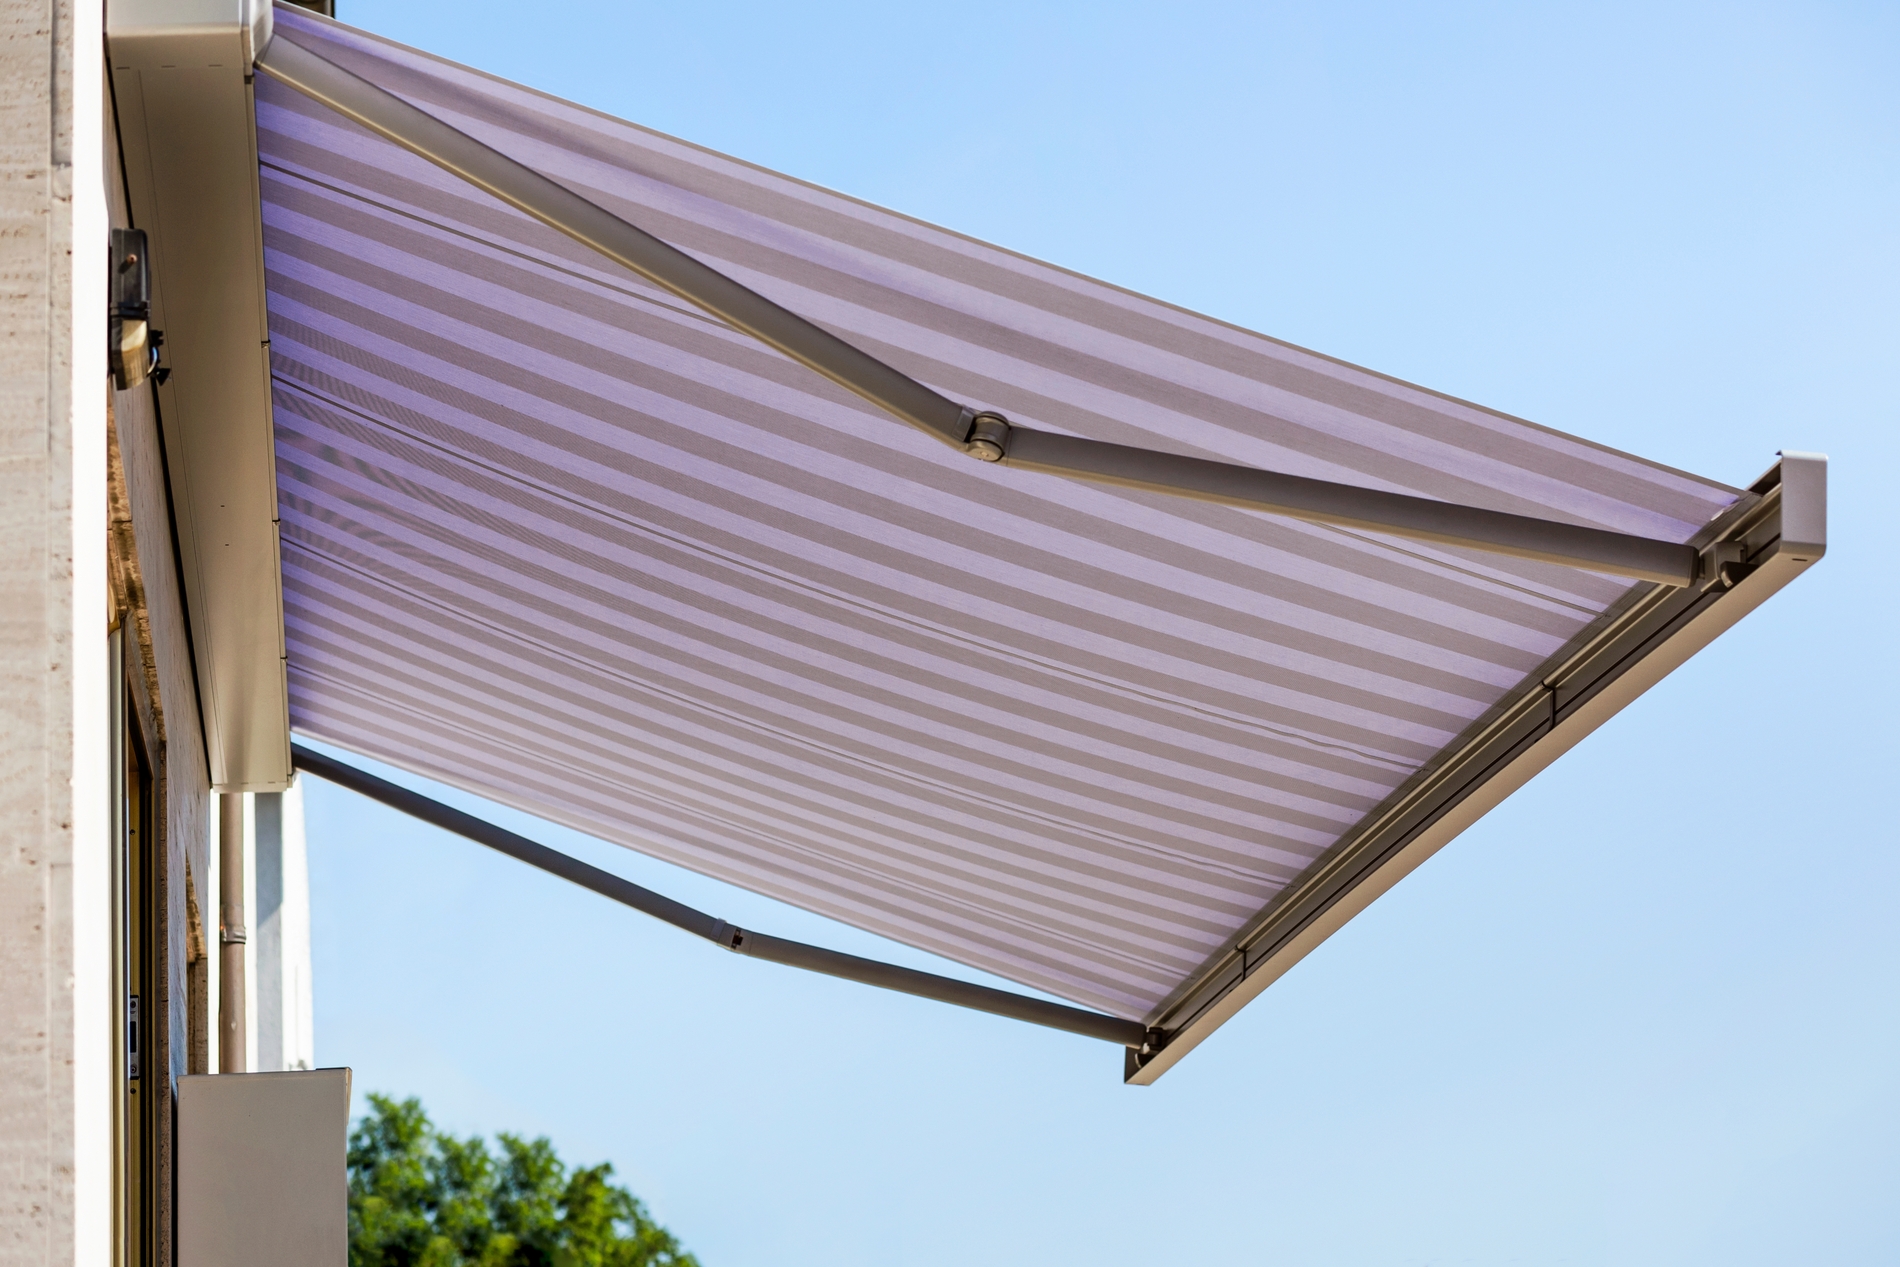
An awning is a small addition that can make a surprisingly big difference to your home’s entrance. It shelters visitors while they wait, helps keep rain away from the door, and adds architectural interest to an otherwise plain exterior. Better still, many prefabricated awning kits can be installed in a single weekend with ordinary DIY tools.
Skill level: Intermediate
Time required: 4 to 6 hours
Best weather: Dry conditions
Helpers: One helping hand
What You’ll Need
- Prefabricated awning kit
- Tape measure and pencil
- Level
- Stud finder
- Drill and suitable drill bits
- Socket wrench or adjustable wrench
- Exterior-grade screws, bolts, or masonry anchors
- Ladder
- Exterior-grade sealant
- Caulking gun
- Safety glasses and work gloves
Choose fasteners designed for both the awning and your exterior wall material. Wood framing, brick, concrete, and masonry veneer require different anchors. Follow the awning manufacturer’s instructions closely, particularly its mounting and weight requirements.
Before You Begin
Measure the doorway and the wall space around it. The awning should extend beyond both sides of the door to provide useful coverage without interfering with lights, house numbers, gutters, or a storm door’s swing.
Check the required clearance above the door. Leave enough room for the door to open freely and, if applicable, for storm-door hardware. Also consider roof runoff: the awning should divert water away from the entrance rather than concentrate it on the walkway.
Before drilling, confirm that the mounting area is clear of electrical wiring, plumbing, vents, and other hidden services. If the entrance is unusually high or the awning is large and heavy, hiring a professional may be safer.
Step 1: Mark the Position
Ask your helper to hold the awning or its mounting template against the wall. Center it over the doorway, measure both sides, and use a level to make sure it is straight. Mark the bracket positions and mounting holes with a pencil.
Do not rely on siding alone to support the awning. Whenever possible, the fasteners should connect to wall studs, a structural header, solid masonry, or another load-bearing surface.
Step 2: Install the Mounting Brackets
Drill pilot holes at the marked locations using a bit appropriate for the wall material. Apply exterior-grade sealant in and around each hole to help prevent water intrusion.
Position the brackets and install the specified screws, bolts, or anchors. Tighten them securely, but avoid overtightening, which can crush siding, strip a fastener, or damage masonry. Check each bracket with the level before moving on.
Step 3: Assemble the Awning
Lay out the awning components on a clean, soft surface and assemble the frame according to the manufacturer’s directions. Attach the cover or roof panels, making sure all joints overlap in the correct direction to shed water.
Keep protective film on clear or polycarbonate panels until the main assembly is complete. This helps prevent scratches during installation.
Step 4: Mount the Awning
With one person on each side, lift the awning into place and connect it to the installed brackets. Insert the supplied bolts or locking hardware, but don’t fully tighten them at first.
Check that the awning is centered, level from side to side, and pitched outward as directed. The proper slope allows rainwater to drain away from the house. Once everything is aligned, tighten all hardware securely.
Final Step: Seal and Inspect
Apply a neat bead of exterior sealant along the upper mounting edge and around wall penetrations. Smooth the sealant and wipe away any excess.
Remove protective film, clean the awning, and test it with a gentle spray from a garden hose. Watch for leaks, pooling water, or movement at the brackets. Recheck the fasteners after the first heavy rain or windstorm.
Your new awning should now provide year-round protection while giving your entrance a finished, welcoming appearance. Inspect it seasonally, clear away leaves or snow, and tighten loose hardware as needed.