

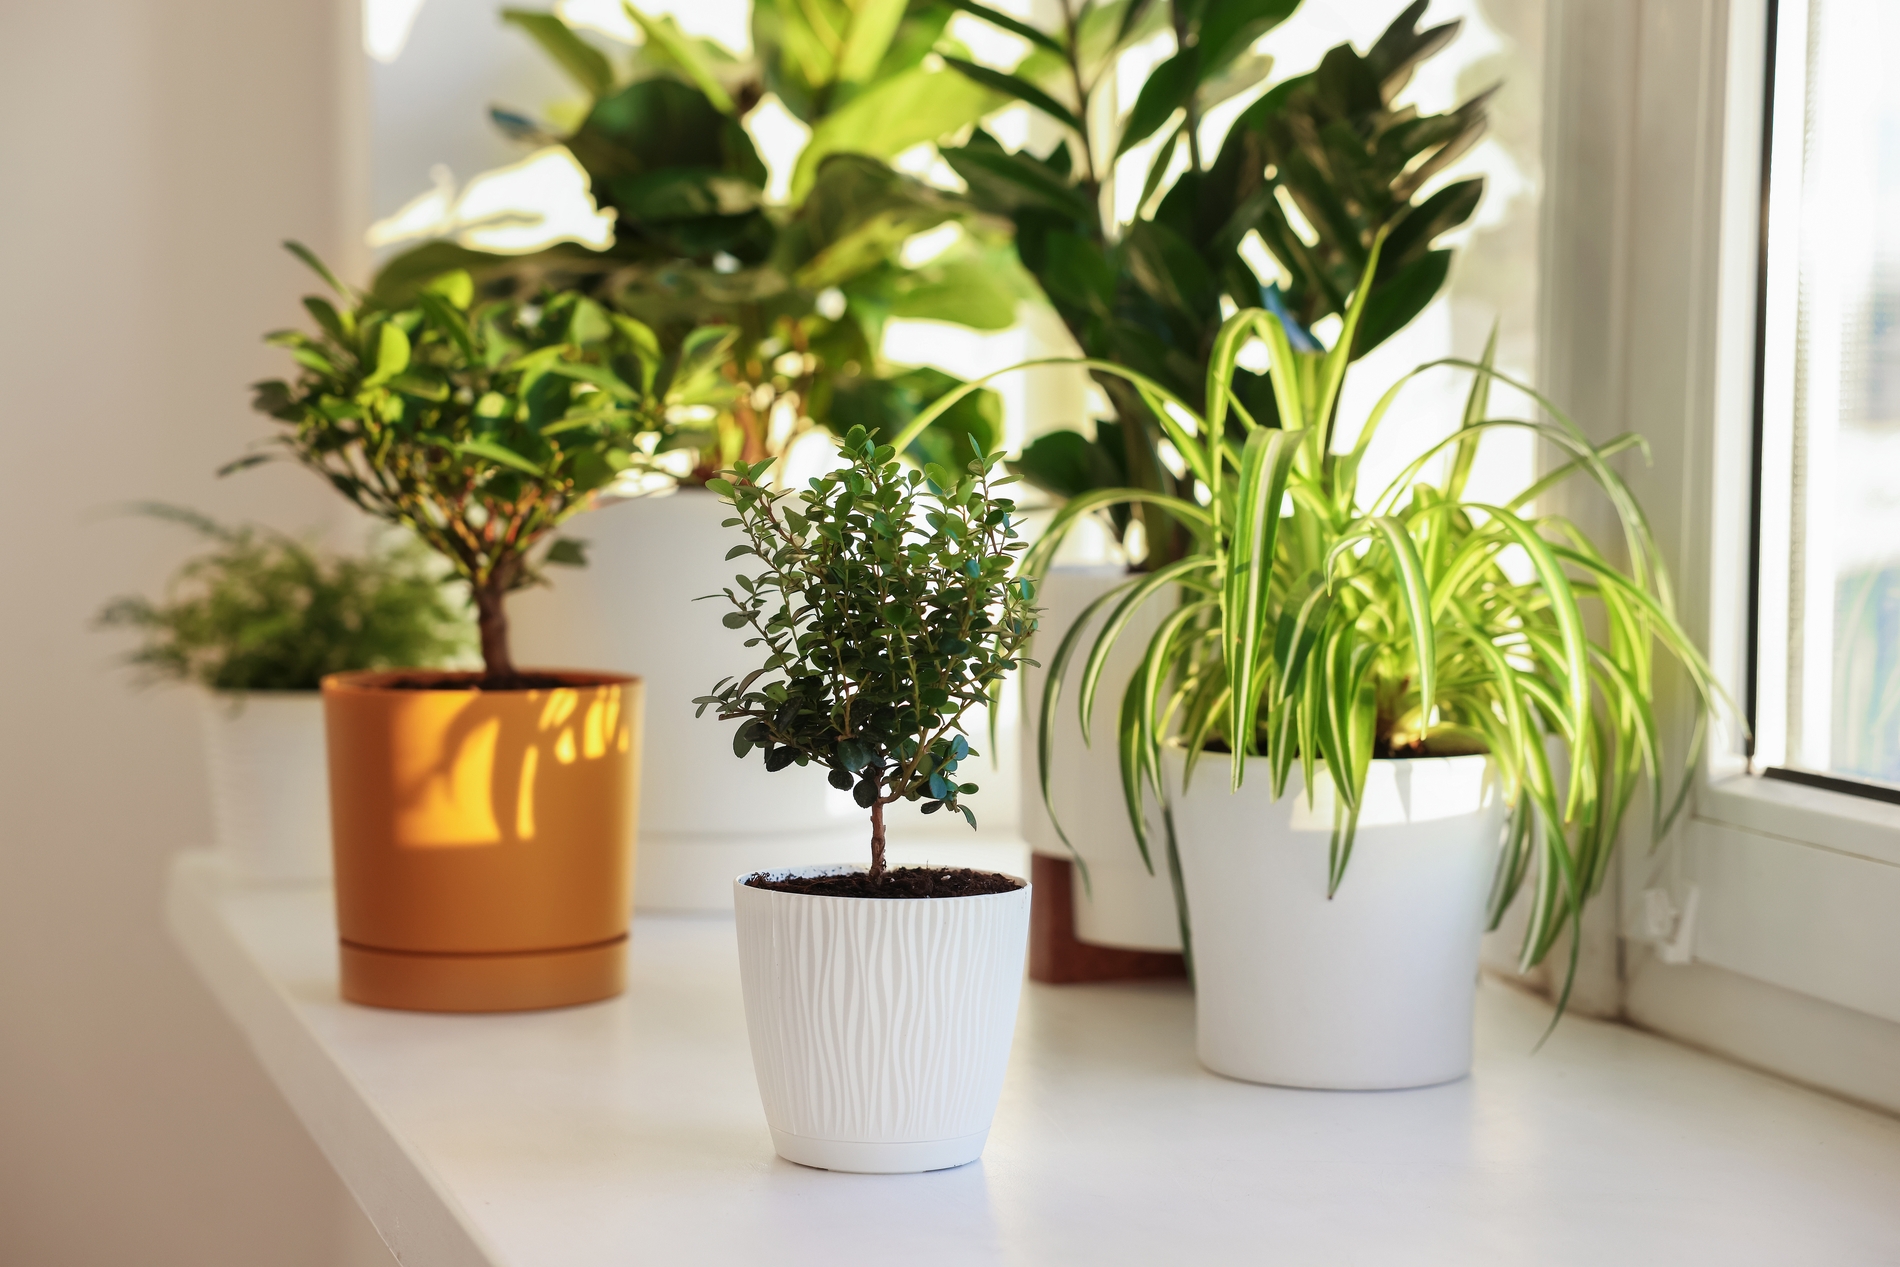
You don’t need an expensive air purifier to make your room feel fresher. A few well-chosen indoor plants in attractive pots can turn an empty corner, windowsill, or shelf into a small indoor air-purifying garden.
The good news? You can create your own air-purifying houseplants setup with inexpensive supplies and very little DIY experience.
Here’s how to do it.
Before you start, gather:
- 3 to 5 indoor plants
- Matching or complementary pots
- Potting mix suitable for indoor plants
- Small stones or a drainage tray
- Gardening gloves
- A small hand trowel
- Watering can or spray bottle
- Plant saucers
- Labels, if you want to identify each plant
- A plant stand or small shelf, if needed
Choose pots with drainage holes. Decorative pots without drainage can trap excess water around the roots and cause root rot.
Choose the Right Plants
Don’t simply buy the plants with the biggest “air-purifying” claims. Choose plants that can actually thrive in the light, temperature, and humidity conditions inside your room.
Some beginner-friendly options include:
- Snake Plant
- Spider Plant
- Peace Lily
- Pothos
- Areca Palm
Step 1: Find the Best Spot
Before putting your plants into pots, decide where the setup will live. A spot near a window is often good, but don’t assume every plant needs direct sunlight. Many indoor plants prefer bright, indirect light.
Keep plants away from:
- Strong air-conditioner drafts
- Direct heat from heaters
- Extremely hot windows
- Places where they’re likely to be knocked over
- Dark corners with virtually no natural light
If the room receives very little natural light, consider a suitable grow light rather than forcing a sun-loving plant to survive in darkness.
Step 2: Prepare Your Pots
Put each plant into a pot that’s only slightly larger than its existing root ball.
Make sure the container has a drainage hole at the bottom. Place a saucer underneath the pot to catch excess water. This is especially important if you’re putting the plants on wooden furniture, shelves, or flooring.
You don’t need to create a deep layer of rocks at the bottom of a pot to improve drainage. A pot with a proper drainage hole and suitable potting mix is the better approach.
Step 3: Use the Right Potting Mix
Avoid using heavy garden soil straight from outside.
Indoor plants generally grow better in a quality potting mix that provides both moisture retention and air space around the roots.
For many common houseplants, a general-purpose indoor potting mix will work. Plants with different requirements may need specialized mixes.
Fill the pot partially with soil, position the plant, and then add more mix around the root ball. Don’t bury the stem deeper than it was previously planted.
Step 4: Water the Plants Properly
This is where many indoor planting projects go wrong.
More water doesn’t mean healthier plants. Instead, check the soil before watering. Push your finger a couple of centimeters into the top layer. If it feels dry and the plant’s specific care requirements call for watering, give it a thorough spray.
Allow excess water to drain through the bottom of the pot. Then empty the saucer if water collects in it.
Different plants have different watering requirements. A Snake Plant may tolerate dry soil for considerably longer than a Peace Lily, so don’t water every plant on the same schedule.
Step 5: Arrange Your Indoor Air Garden
Now comes the fun part.
Instead of lining every pot against the same wall, create different heights and shapes.
For example:
- Back: Place a taller areca palm or snake plant on the floor.
- Middle: Add a peace lily or another medium-sized plant on a stand.
- Front: Place smaller spider plants or pothos in decorative pots.
- Top: Put a trailing pothos on a shelf so its vines hang downward.
This arrangement creates a layered indoor garden without requiring a huge amount of space.
Step 6: Give Each Plant Enough Space
Don’t cram ten plants into a tiny corner.
Good airflow around the foliage helps the plants stay healthier and makes it easier to inspect them for pests.
Leave enough room to:
- Water each pot
- Rotate plants
- Remove dead leaves
- Inspect the undersides of leaves
- Move plants when lighting conditions change
A smaller collection of healthy plants is better than a crowded collection of struggling ones.
Step 7: Keep the Leaves Clean
Dust can accumulate on large indoor leaves, particularly in rooms that aren’t cleaned frequently. Every few weeks, gently wipe broad leaves with a clean, damp cloth.
For smaller or delicate plants, a gentle shower or appropriate cleaning method may work better.
Avoid using household cleaning products, oils, or homemade mixtures on leaves unless they’re specifically safe for that plant.
Step 8: Watch for Pests
Indoor plants can still attract pests. Check the leaves and stems occasionally for:
- Tiny insects
- Webbing
- Sticky residue
- Discolored leaves
- White cotton-like spots
- Sudden leaf damage
If you spot a problem, isolate the affected plant from the others before treating it. This can prevent pests from spreading throughout your entire indoor garden.
Step 9: Rotate the Plants
Plants naturally grow toward light. Rotate your pots occasionally so one side doesn’t become significantly more developed than the other.
If a plant starts leaning heavily toward a window, move or rotate it gradually rather than making dramatic changes to its environment.
Step 10: Don’t Forget Ventilation
This DIY project shouldn’t replace proper ventilation.
Opening windows when outdoor conditions allow, using kitchen and bathroom exhaust fans, controlling indoor humidity, and reducing sources of pollution can have a much greater effect on indoor air quality than simply adding plants.
If your room has significant particulate pollution, smoke, allergens, or other contaminants, a properly sized mechanical air purifier with appropriate filtration is a much more reliable solution.
Think of your plants as part of a healthier and more pleasant room, not as a substitute for an actual air-cleaning device.
The Bottom Line
Building a natural air purifier with indoor plants is an easy way to bring more greenery into your home without spending much money. While houseplants aren’t a replacement for an electrical air purifier or good ventilation, they can add greenery, slightly increase humidity through transpiration, and make a room more pleasant.