


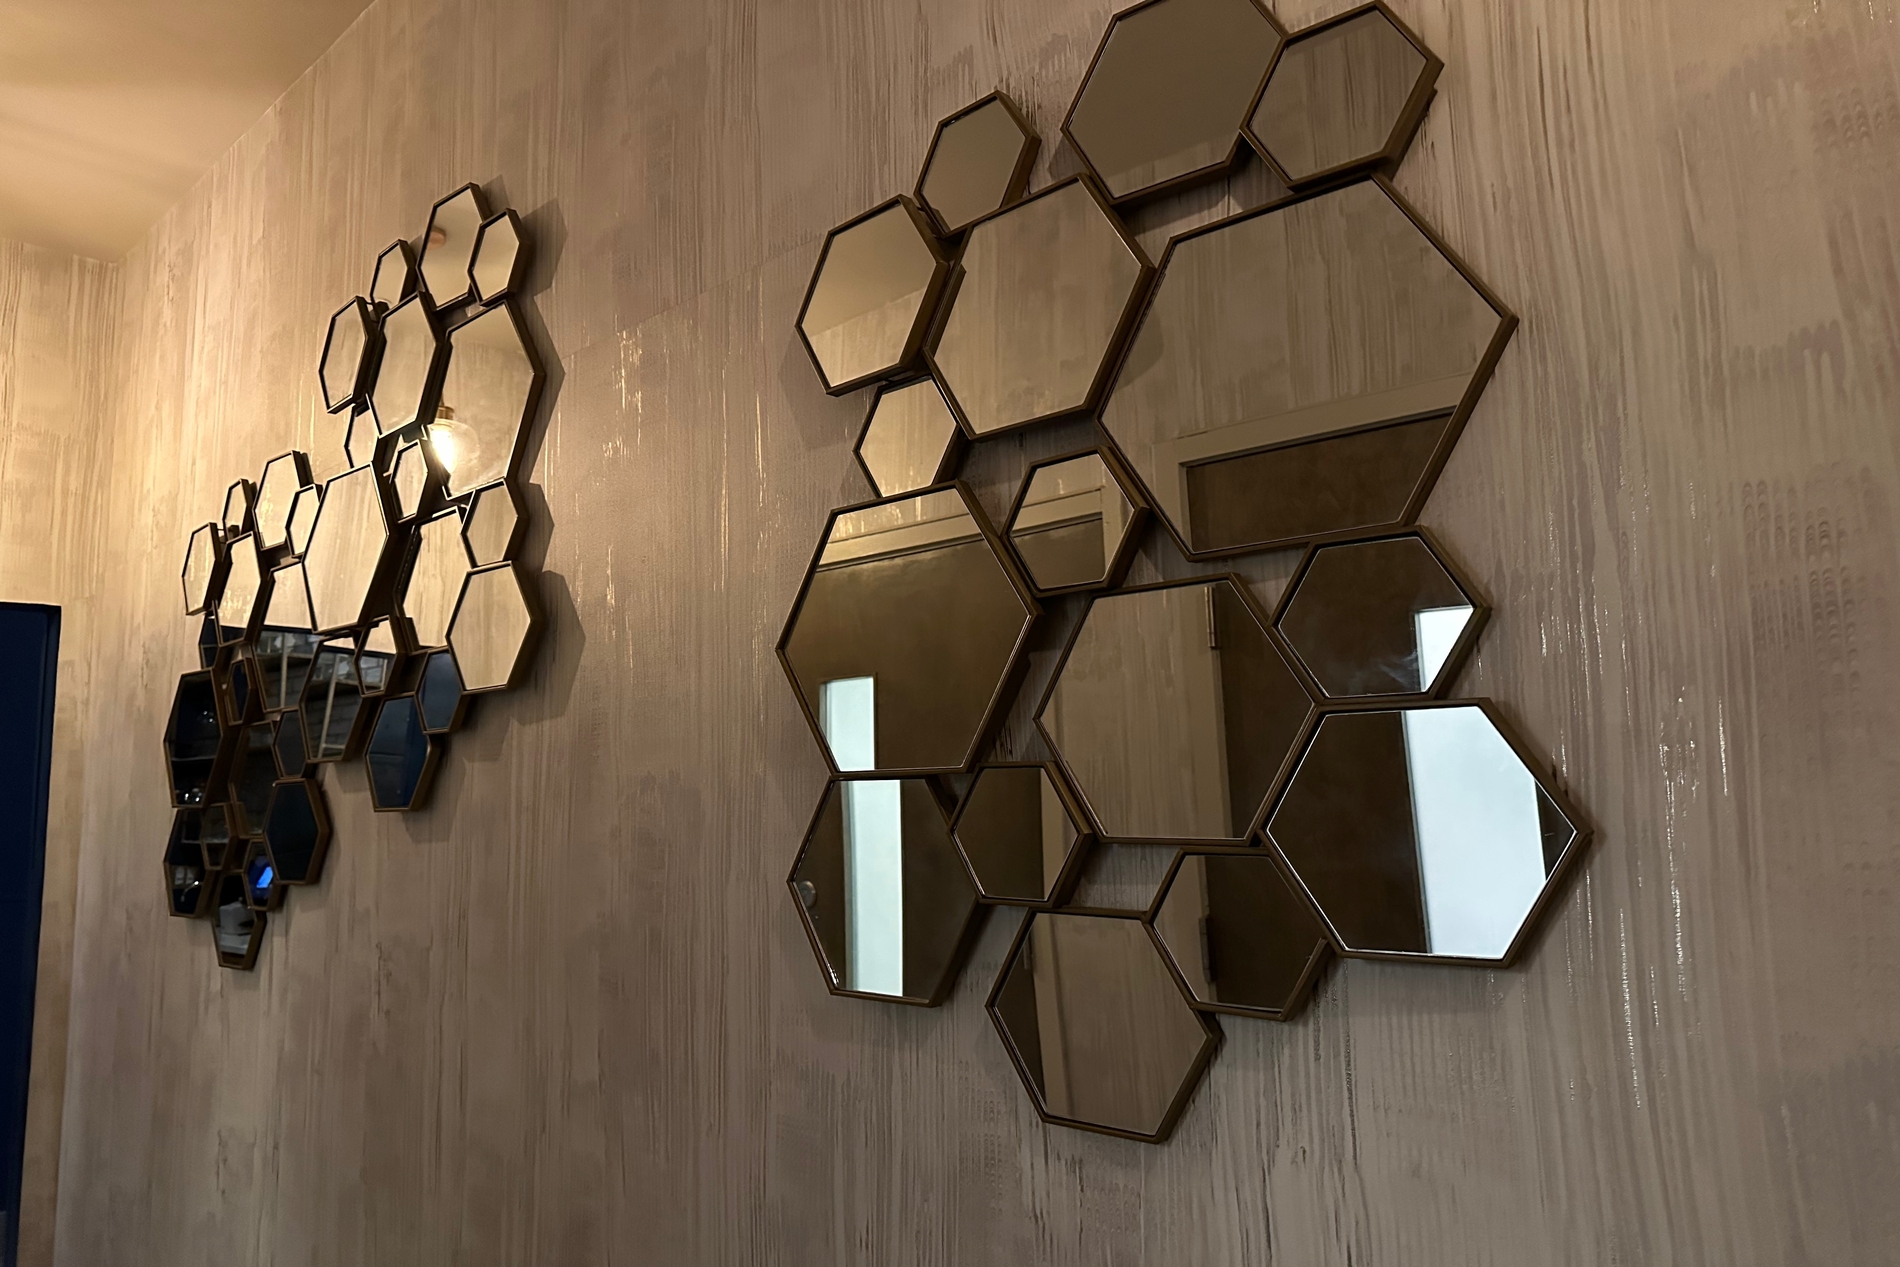
A wall with well-placed mirrors can make an ordinary room look more structured and spacious.
Mirrors do more than reflect light. When you arrange several mirrors in different geometric shapes, they can create the look of an architectural feature without construction, paint, or expensive remodeling. This DIY project takes about two hours and works especially well on a blank living room, bedroom, hallway, or dining room wall.
What You Will Need
- A set of mirrors in different geometric shapes and sizes
- Measuring tape
- Pencil
- Painter’s tape
- Level
- Cleaning cloth and glass cleaner
- Wall anchors or mirror mounting hardware
- Drill and screwdriver
- Stud finder
Before buying hardware, check each mirror’s weight and the type of wall you have. Use mounting hardware rated for the mirror’s weight.
0 to 20 Minutes: Choose the Wall and Plan
Start with a wall that has enough open space for the arrangement. A large blank wall usually gives the mirrors more visual impact.
Measure the available area and place the mirrors on the floor before putting anything on the wall. Try different combinations of large and small pieces. Slightly overlapping shapes can create a connected composition, while leaving small gaps between them gives each mirror more definition.
Keep the overall arrangement balanced rather than making both sides identical. The goal is to create visual structure without making the wall look perfectly symmetrical.
20 to 45 Minutes: Mark the Layout
Once you have a layout you like, take a quick photo of it. This gives you a reference while mounting the pieces.
Use painter’s tape to mark the approximate position of each mirror on the wall. Measure the gaps between pieces and check the arrangement from several feet away.
Use a level to make sure each mirror is straight. This matters even more when you are combining geometric shapes because uneven mounting can make the entire arrangement look messy.
45 to 90 Minutes: Mount the Mirrors
Clean the wall and the backs of the mirrors before installation. Follow the mounting instructions supplied with your mirrors or hardware.
For heavier mirrors, secure the hardware into wall studs whenever possible. If a stud is not available, use suitable anchors designed for your wall type and the mirror’s weight.
Install the largest or central mirrors first. Then work outward toward the smaller pieces. Check the layout after every few mirrors, rather than mounting everything at once.
Do not rely on ordinary adhesive or decorative tape for a heavy mirror unless the product is specifically rated for that application.
90 to 120 Minutes: Clean Up and Adjust
Once everything is mounted, remove the painter’s tape and clean the mirror surfaces with a suitable glass cleaner and soft cloth.
Stand across the room and check the composition. Look for noticeably large gaps, crowded areas, or mirrors that sit too high or low compared with the rest.
The finished arrangement should also reflect useful parts of the room. Positioning mirrors where they catch daylight, lamps, or an attractive part of the room can make the space feel brighter and more open.
The Final Result
A collection of geometric mirrors can turn a plain wall into a strong architectural feature in an afternoon. The key is to plan the arrangement first, maintain visual balance, and use mounting hardware appropriate for each mirror. With careful placement, you can create a custom-looking wall without making permanent structural changes to the room.