


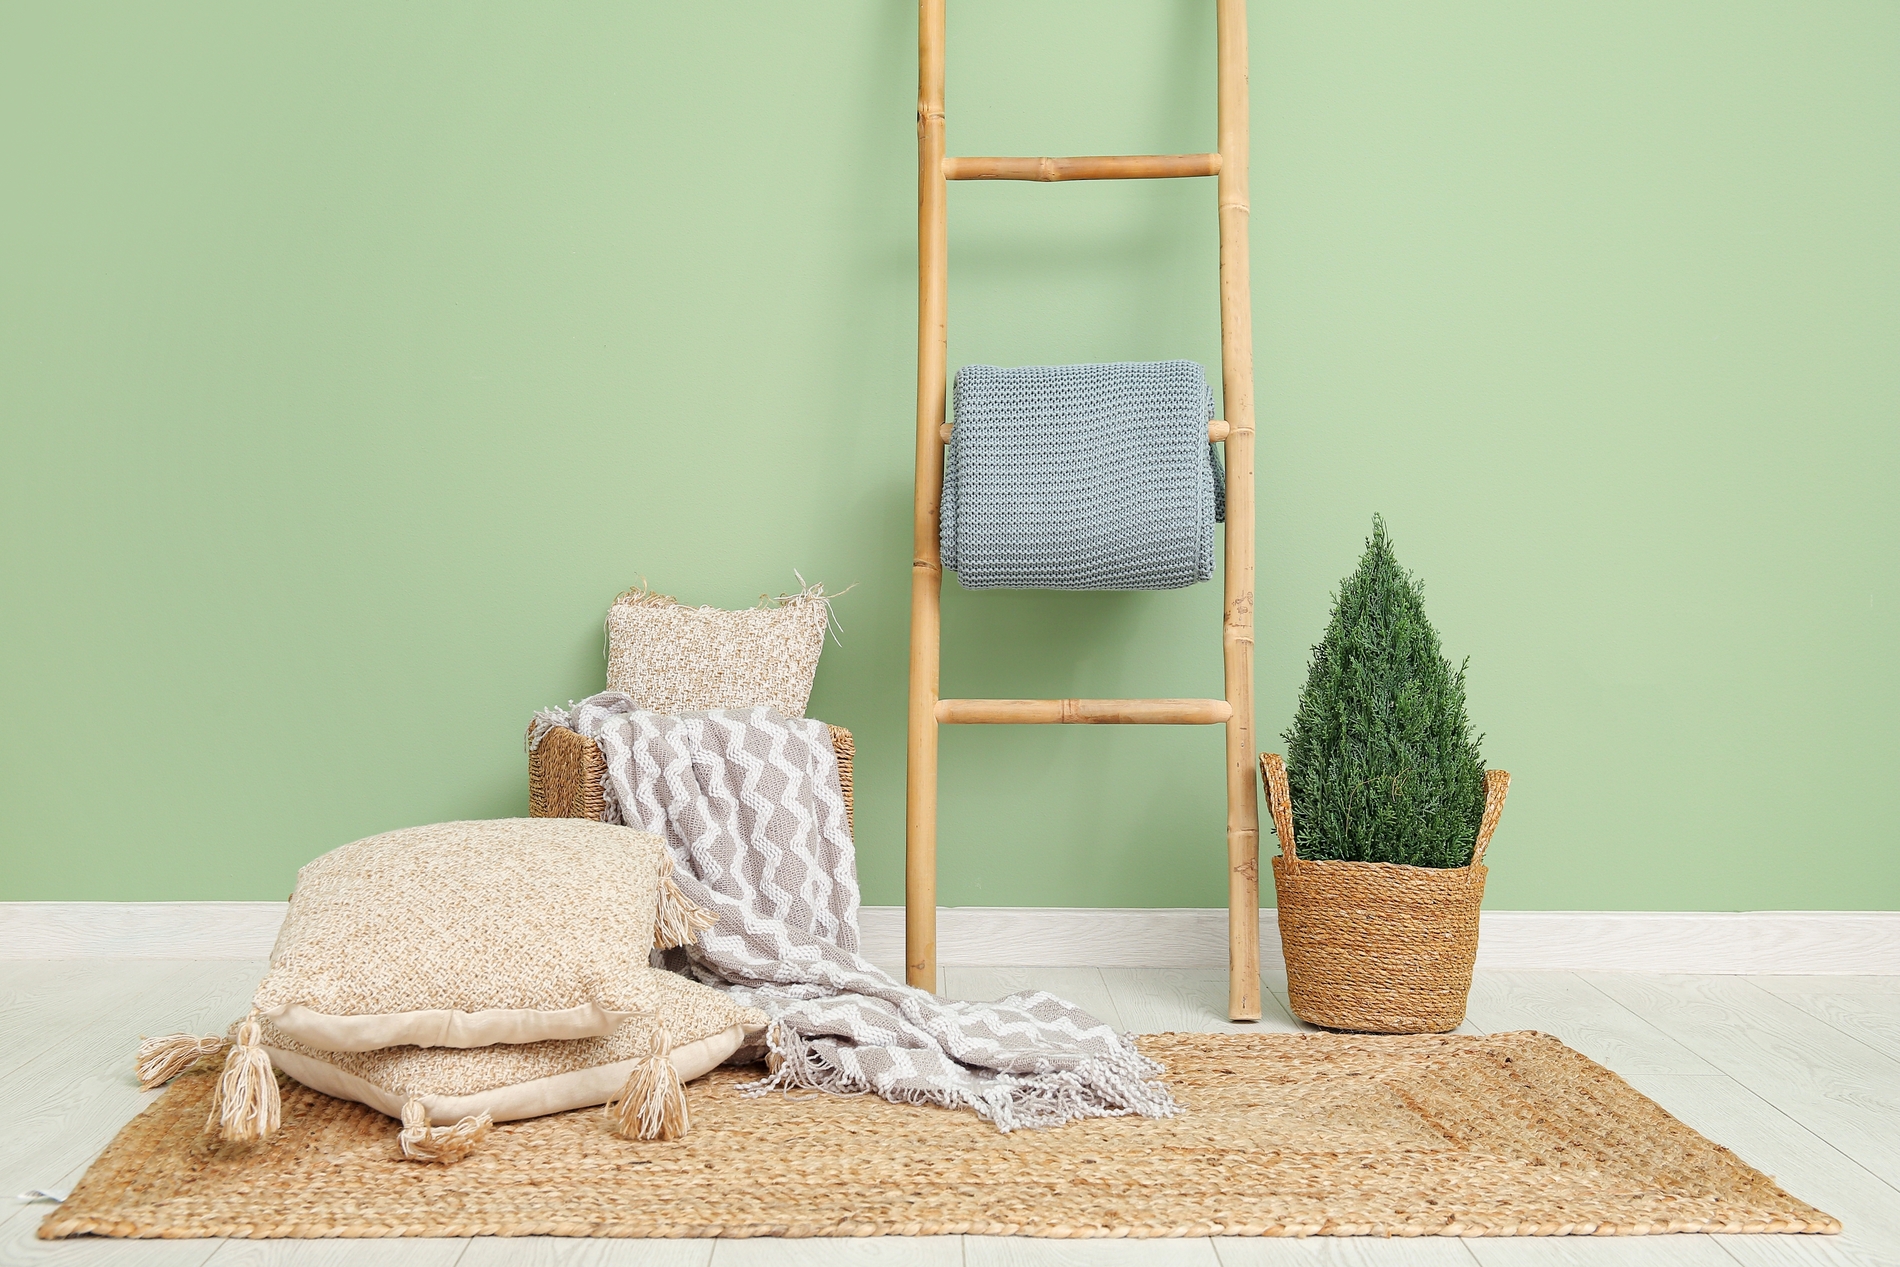
Blankets have a habit of ending up everywhere except where you want them. Draped over the sofa, folded into a basket, or stacked in a corner, they can quickly make a room feel cluttered.
A blanket ladder gives them a dedicated place without taking up much floor space. Better still, it is one of those DIY projects that looks more complicated than it really is.
With two wooden rails, a few rungs, and some basic tools, you can build one over a weekend and customize it to suit your room.
What You’ll Need
Keep the materials simple:
- Two long wooden boards for the side rails
- Three to five wooden dowels or narrow timber pieces for the rungs
- Wood screws
- Wood glue
- Drill and drill bits
- Measuring tape
- Pencil
- Sandpaper
- Wood stain, paint, or clear finish
- Saw, if your timber needs cutting
- Rubber pads or felt protectors for the bottom
A ladder around 5 to 6 feet tall works well in most rooms, although you can adjust the measurements to suit your available space.
1. Start With the Overall Size
Before cutting anything, decide where the ladder will go, and lean a tape measure against the wall to gauge the height you want. Also think about how many blankets you plan to hang.
Four rungs usually provide enough storage without making the ladder look crowded.
Once you know the overall size, cut the two side rails to the same length. Place them side by side on the floor and mark where each rung will sit. Keeping the spacing consistent will make the finished ladder look much neater.
Around 10 to 14 inches between rungs is a practical starting point.
2. Cut and Prepare the Rungs
Next, cut the rungs to the same length.
A width of roughly 16 to 20 inches creates enough room for folded throws while keeping the ladder relatively compact.
Once all the pieces are cut, sand every surface carefully. Pay extra attention to edges and corners. Blankets can easily catch on rough timber, so the smoother you make the wood, the better.
If you prefer a softer look, slightly round the edges with sandpaper rather than leaving them completely square.
3. Lay Everything Out Before Drilling
This is the part worth taking slowly. Place both rails flat on the ground and position the rungs between them according to your markings.
Measure the distance between the rails at both the top and bottom. They should remain parallel.
Now check each rung with a square or measuring tape to make sure it sits evenly.
Once you are happy with the layout, mark the center point of each rung on the outside of the rails. Pre-drill the screw holes to reduce the risk of splitting the wood.
4. Assemble the Ladder
Apply a small amount of wood glue to the end of the first rung. Hold it in position between the rails and drive a screw through the outside of the rail into the end of the rung.
Repeat on the opposite side.
Continue working your way down the ladder until every rung is attached.
Check the frame as you go. If the ladder begins twisting or leaning to one side, loosen the screws slightly, realign it, then tighten everything again.
Once assembled, wipe away any excess glue and allow it to dry according to the manufacturer’s instructions.
5. Give It Some Personality
Now you can choose the finish that suits your room.
For a farmhouse-style look, use a medium or dark wood stain. White or cream paint works well in lighter interiors, while black can give the ladder a more modern appearance.
You can also leave the timber natural and apply a clear protective finish. Whatever you choose, let the finish dry completely before bringing the ladder indoors.
6. Set It Up Safely
A blanket ladder is decorative storage, not a climbing ladder, so position it accordingly.
Lean it securely against the wall at a slight angle and add rubber or felt pads underneath the rails to prevent slipping and protect the floor.
If you have children or pets that may pull on it, consider securing the upper section to the wall with discreet anti-tip hardware.
Then fold your throws lengthwise and drape them over the rungs.
A Simple Upgrade for an Empty Corner
That unused patch of wall beside the sofa or bedroom chair now has a purpose.
Instead of hiding your blankets in a cupboard, the ladder turns them into part of the room’s decor while keeping them within easy reach.
And because the design is so simple, you can easily change the finish later or build another one for a different room.
Not bad for a project that starts with a few lengths of timber and a free weekend.