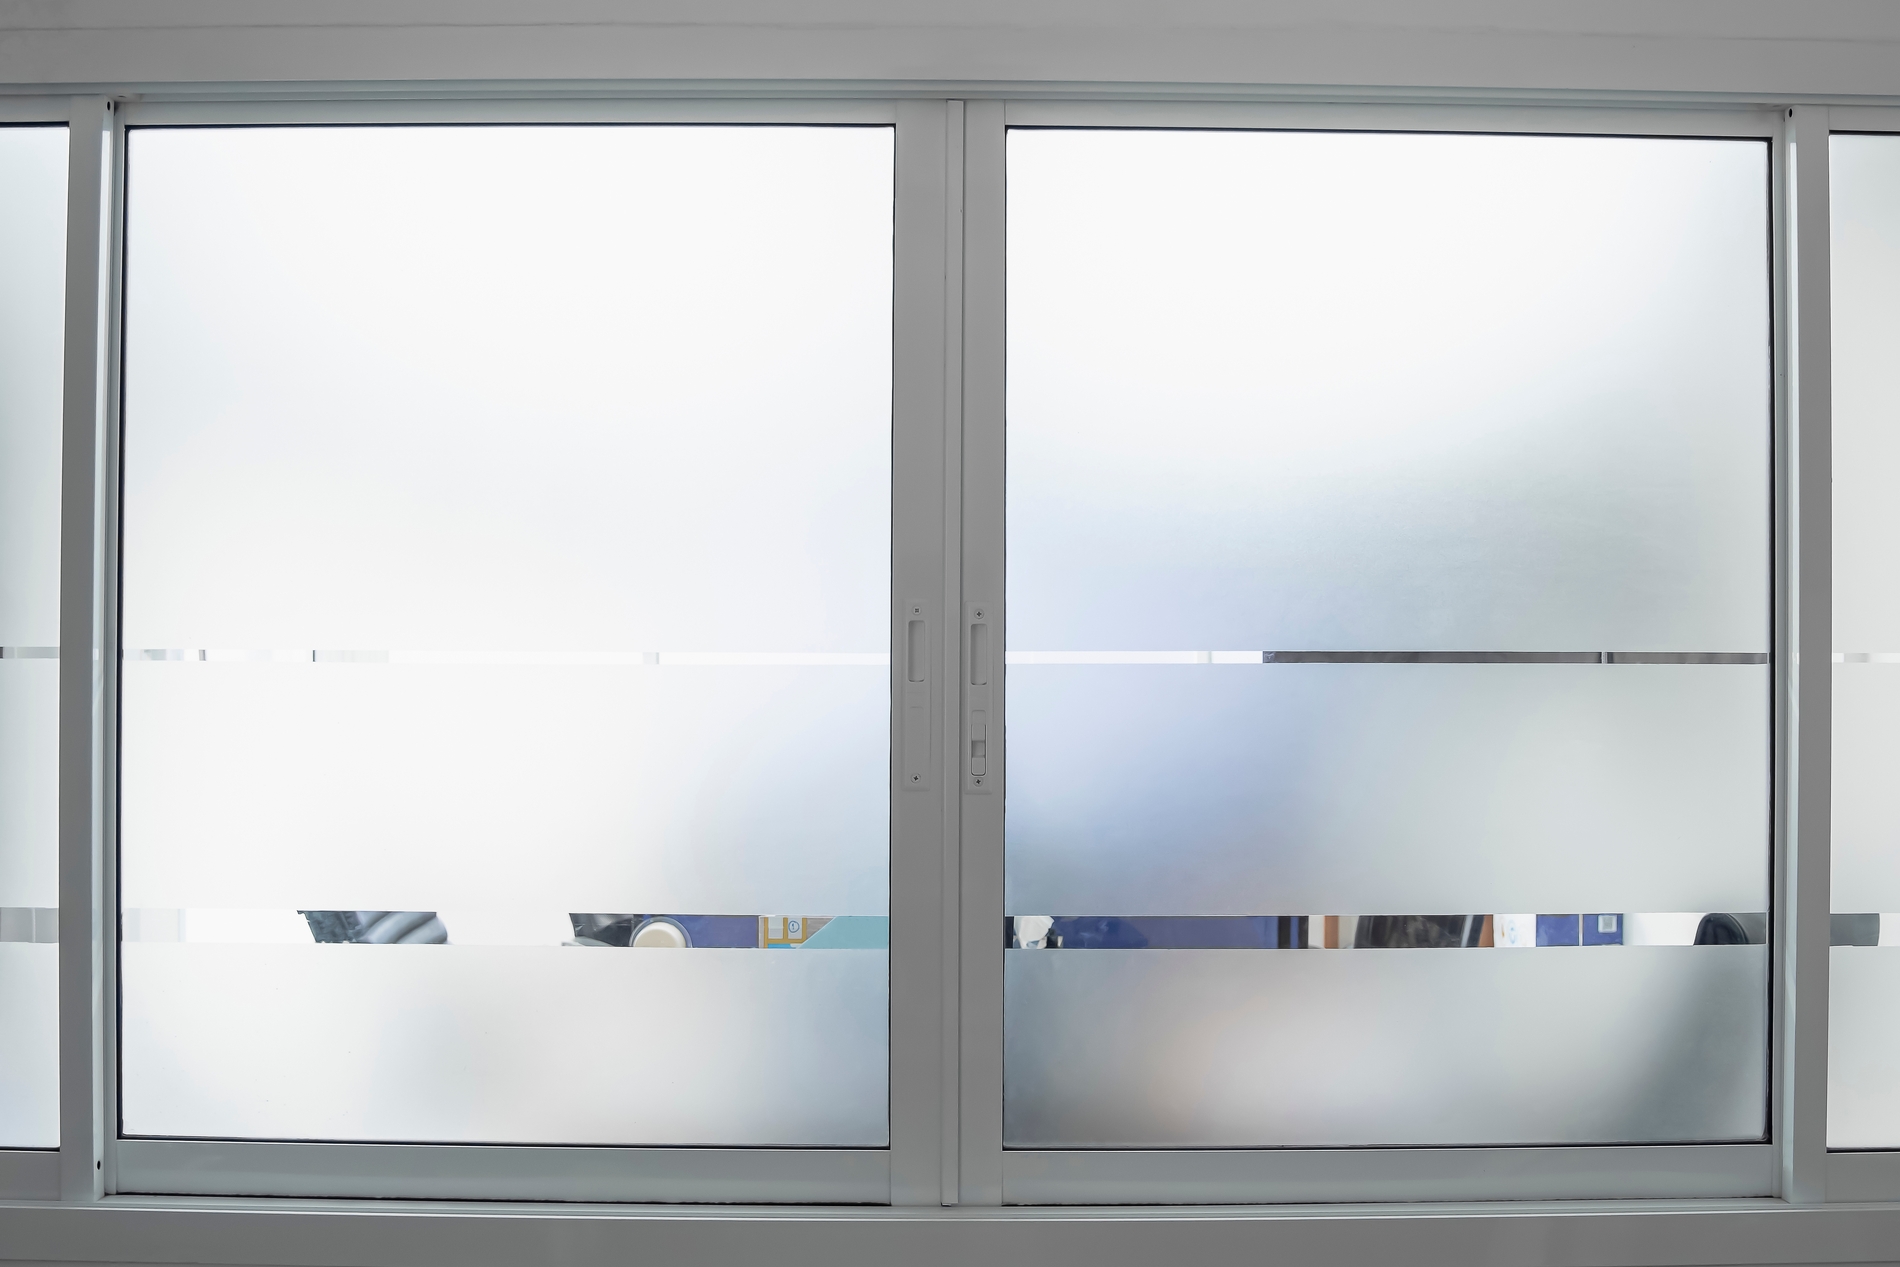
Love natural light but not curious eyes? Frosted window film gives you the best of both worlds!
You can add frosted window film to clear glass in about two hours to blur the view from outside while still letting sunlight stream in. No drilling, bulky curtains, or complicated installation needed. It’s a quick, fuss-free way to add privacy to bathroom windows, glass doors, and other see-through spots around your home.
What You’ll Need
- Frosted window film
- Spray bottle
- Squeegee
- Craft knife with a fresh blade
- Tape measure and ruler
- Lint-free cloth
- Water with 2–3 drops of baby shampoo
Step-By-Step Process
- Clean the glass thoroughly.
Wash the window with a suitable glass cleaner or mild soapy water to remove dirt, grease, and dust. Pay special attention to the corners and edges, where grime tends to collect. Wipe away any residue with a clean, lint-free cloth. Even a speck of dust can leave a noticeable bump under the film, so take your time.
- Measure the glass.
Measure the width and height of the glass itself, not the surrounding frame. Take measurements in two or three places, as windows aren’t always perfectly square. Use your measurements to calculate how much film you’ll need, adding an extra 2–3 cm on each side for positioning and trimming.
- Cut the film to size.
Unroll the film on a clean, flat surface with its protective backing facing up. Mark your measurements and use a ruler and sharp craft knife to cut the film slightly larger than the glass. Don’t worry about getting the edges perfect just yet; you’ll trim away the excess once it’s in place.
- Prepare your application solution.
Check the film packaging for its recommended application solution. Some wet-apply films use clean water mixed with a few drops of mild baby shampoo or dishwashing liquid. Add only the recommended amount to a spray bottle. Too much soap can interfere with adhesion.
- Damp the glass.
Spray the entire glass pane generously with your application solution, making sure the edges and corners are covered. The wet surface allows you to slide the film into position instead of having it stick immediately.
- Peel and position the film.
Slowly peel away the protective backing to expose the adhesive (cling) side. Spray that side with the application solution as you go, if the manufacturer’s instructions recommend it. This helps prevent the film from sticking to itself. Hold the film by its edges, place it against the glass, and gently slide it until the top and side edges align.
- Smooth out the water and air bubbles.
Lightly spray the front of the film so your squeegee can glide over it. Starting near the center, push trapped water and air toward the edges with firm, overlapping strokes. Work your way across the entire pane, taking extra care around the corners. A soft-edged squeegee is best for avoiding scratches.
- Trim the excess film.
Once the film is positioned, use a ruler or straight edge as a guide and carefully cut away the overhanging material with a fresh craft-knife blade. Leave a small gap of around 1–2 mm between the film and the window frame or gasket. This helps prevent the edges from lifting.
- Give it a final smooth and clean.
Spray the film surface again if the manufacturer’s instructions require it, then make a final squeegee pass to remove any remaining water. Pay particular attention to the edges. Use a clean, lint-free cloth to wipe away moisture from the frame and surrounding glass.
- Let the film dry and cure.
Leave the film undisturbed for the curing period recommended on its packaging. Some films take several days to dry and fully adhere, so don’t rush to clean or handle the window. Slight cloudiness or small moisture patches may disappear as the film dries, but push out trapped air bubbles during installation.
Takeaway
Frosted window film is one of the quickest ways to get privacy without losing natural light. A clean pane, soapy water, and slow squeegee strokes are all you need for a neat, bubble-free finish, and most windows take well under two hours.