


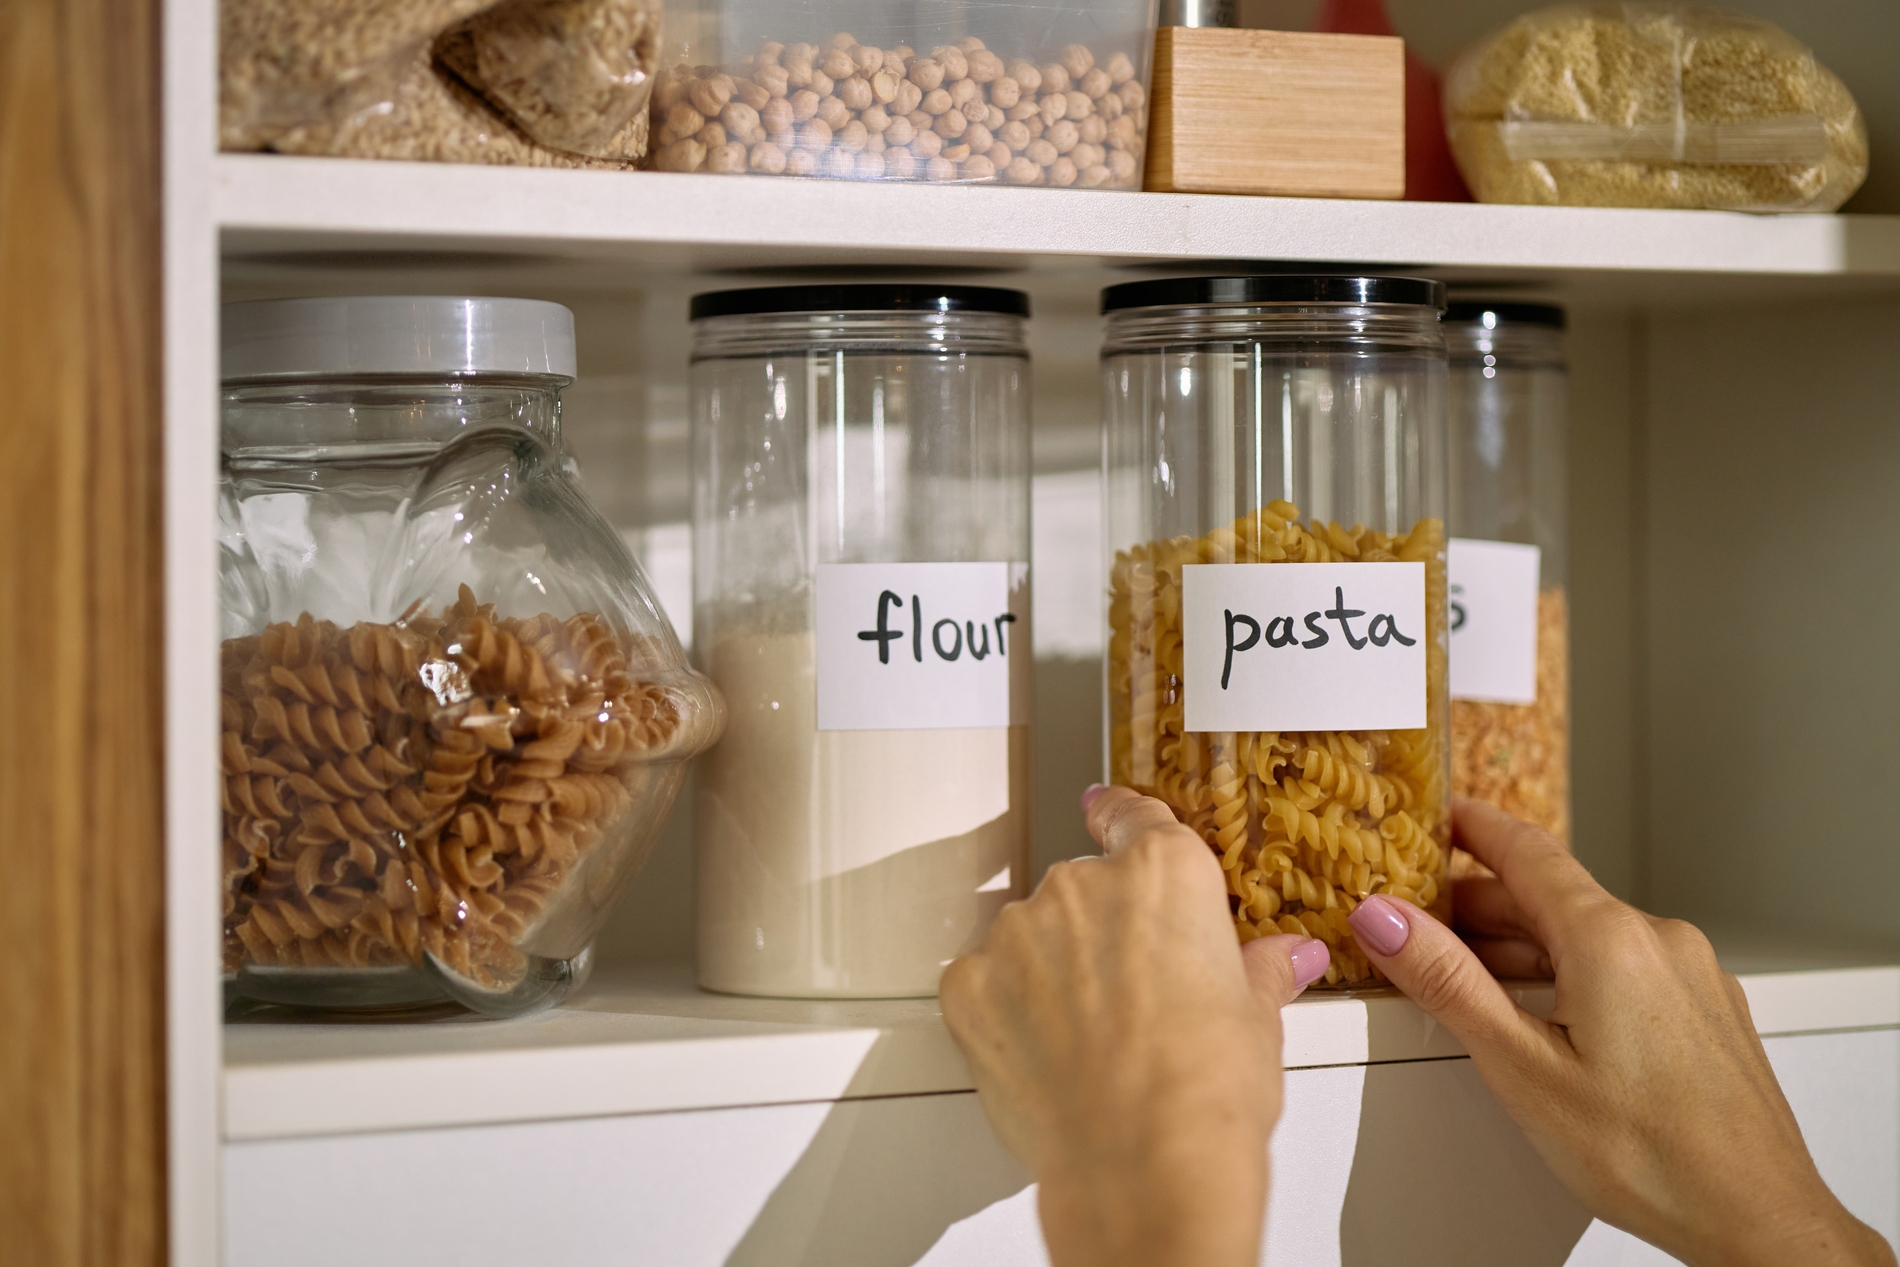
A cluttered pantry makes cooking more frustrating than it is. You may mistakenly buy items you already have, struggle to find ingredients, and sometimes discover expired food hiding at the back of a shelf.
The good news? You can transform your pantry in just a few hours. With a little organization and a few labels, your kitchen will become easier to use every day. Do it this weekend.
Step 1: Empty the Pantry
Start by taking everything off the shelves.
As you do, group similar items together, such as:
- Canned foods
- Pasta and rice
- Baking supplies
- Spices
- Breakfast items
- Snacks
- Drinks
Seeing everything at once makes it much easier to decide where each category belongs.
Step 2: Check Expiration Dates
Before putting anything back, go through each item.
Throw away anything that is expired, damaged, or no longer safe to eat. If you find unopened food that’s still within its best-before date but you know you won’t use it, consider donating it to a local food bank.
This simple step creates extra space without buying a single storage container.
Step 3: Use Clear Containers
Transfer dry foods like flour, sugar, rice, pasta, cereal, and beans into airtight containers.
Clear containers let you:
- See how much is left at a glance.
- Keep food fresher for longer.
- Reduce clutter from different-sized packaging.
- Make shelves look cleaner and more organized.
If you don’t want to buy new containers, reuse clean glass jars or sturdy plastic containers you already have.
Step 4: Label Everything
Labels make your pantry easier for everyone in the house to use.
Each label should include the food name. For similar-looking ingredients like flour and powdered sugar, consider adding the purchase date or expiration date as well.
You can use printed labels, handwritten stickers, or even masking tape and a marker if you’re looking for a quick and budget-friendly solution.
Step 5: Arrange Items by Frequency
Store the foods you use most often at eye level.
Less frequently used items, such as holiday baking supplies or bulk ingredients, can go on the higher or lower shelves.
For even better organization, keep similar items together so you always know where to find them.
Step 6: Make It Easy to Maintain
The goal isn’t just to organize your pantry but to keep it organized.
A few simple habits can make a big difference:
- Place newer products behind older ones.
- Return items to their designated spot after each use.
- Check expiration dates every few months.
- Keep a small shopping list nearby so you can note items that need replacing.
Final Thoughts
Organizing and labeling your pantry is one of those weekend projects that continues to pay off long after it’s finished. You’ll spend less time searching for ingredients, reduce food waste, and make grocery shopping much more efficient.